
:: in which we turn weeds into fancy drinks ::
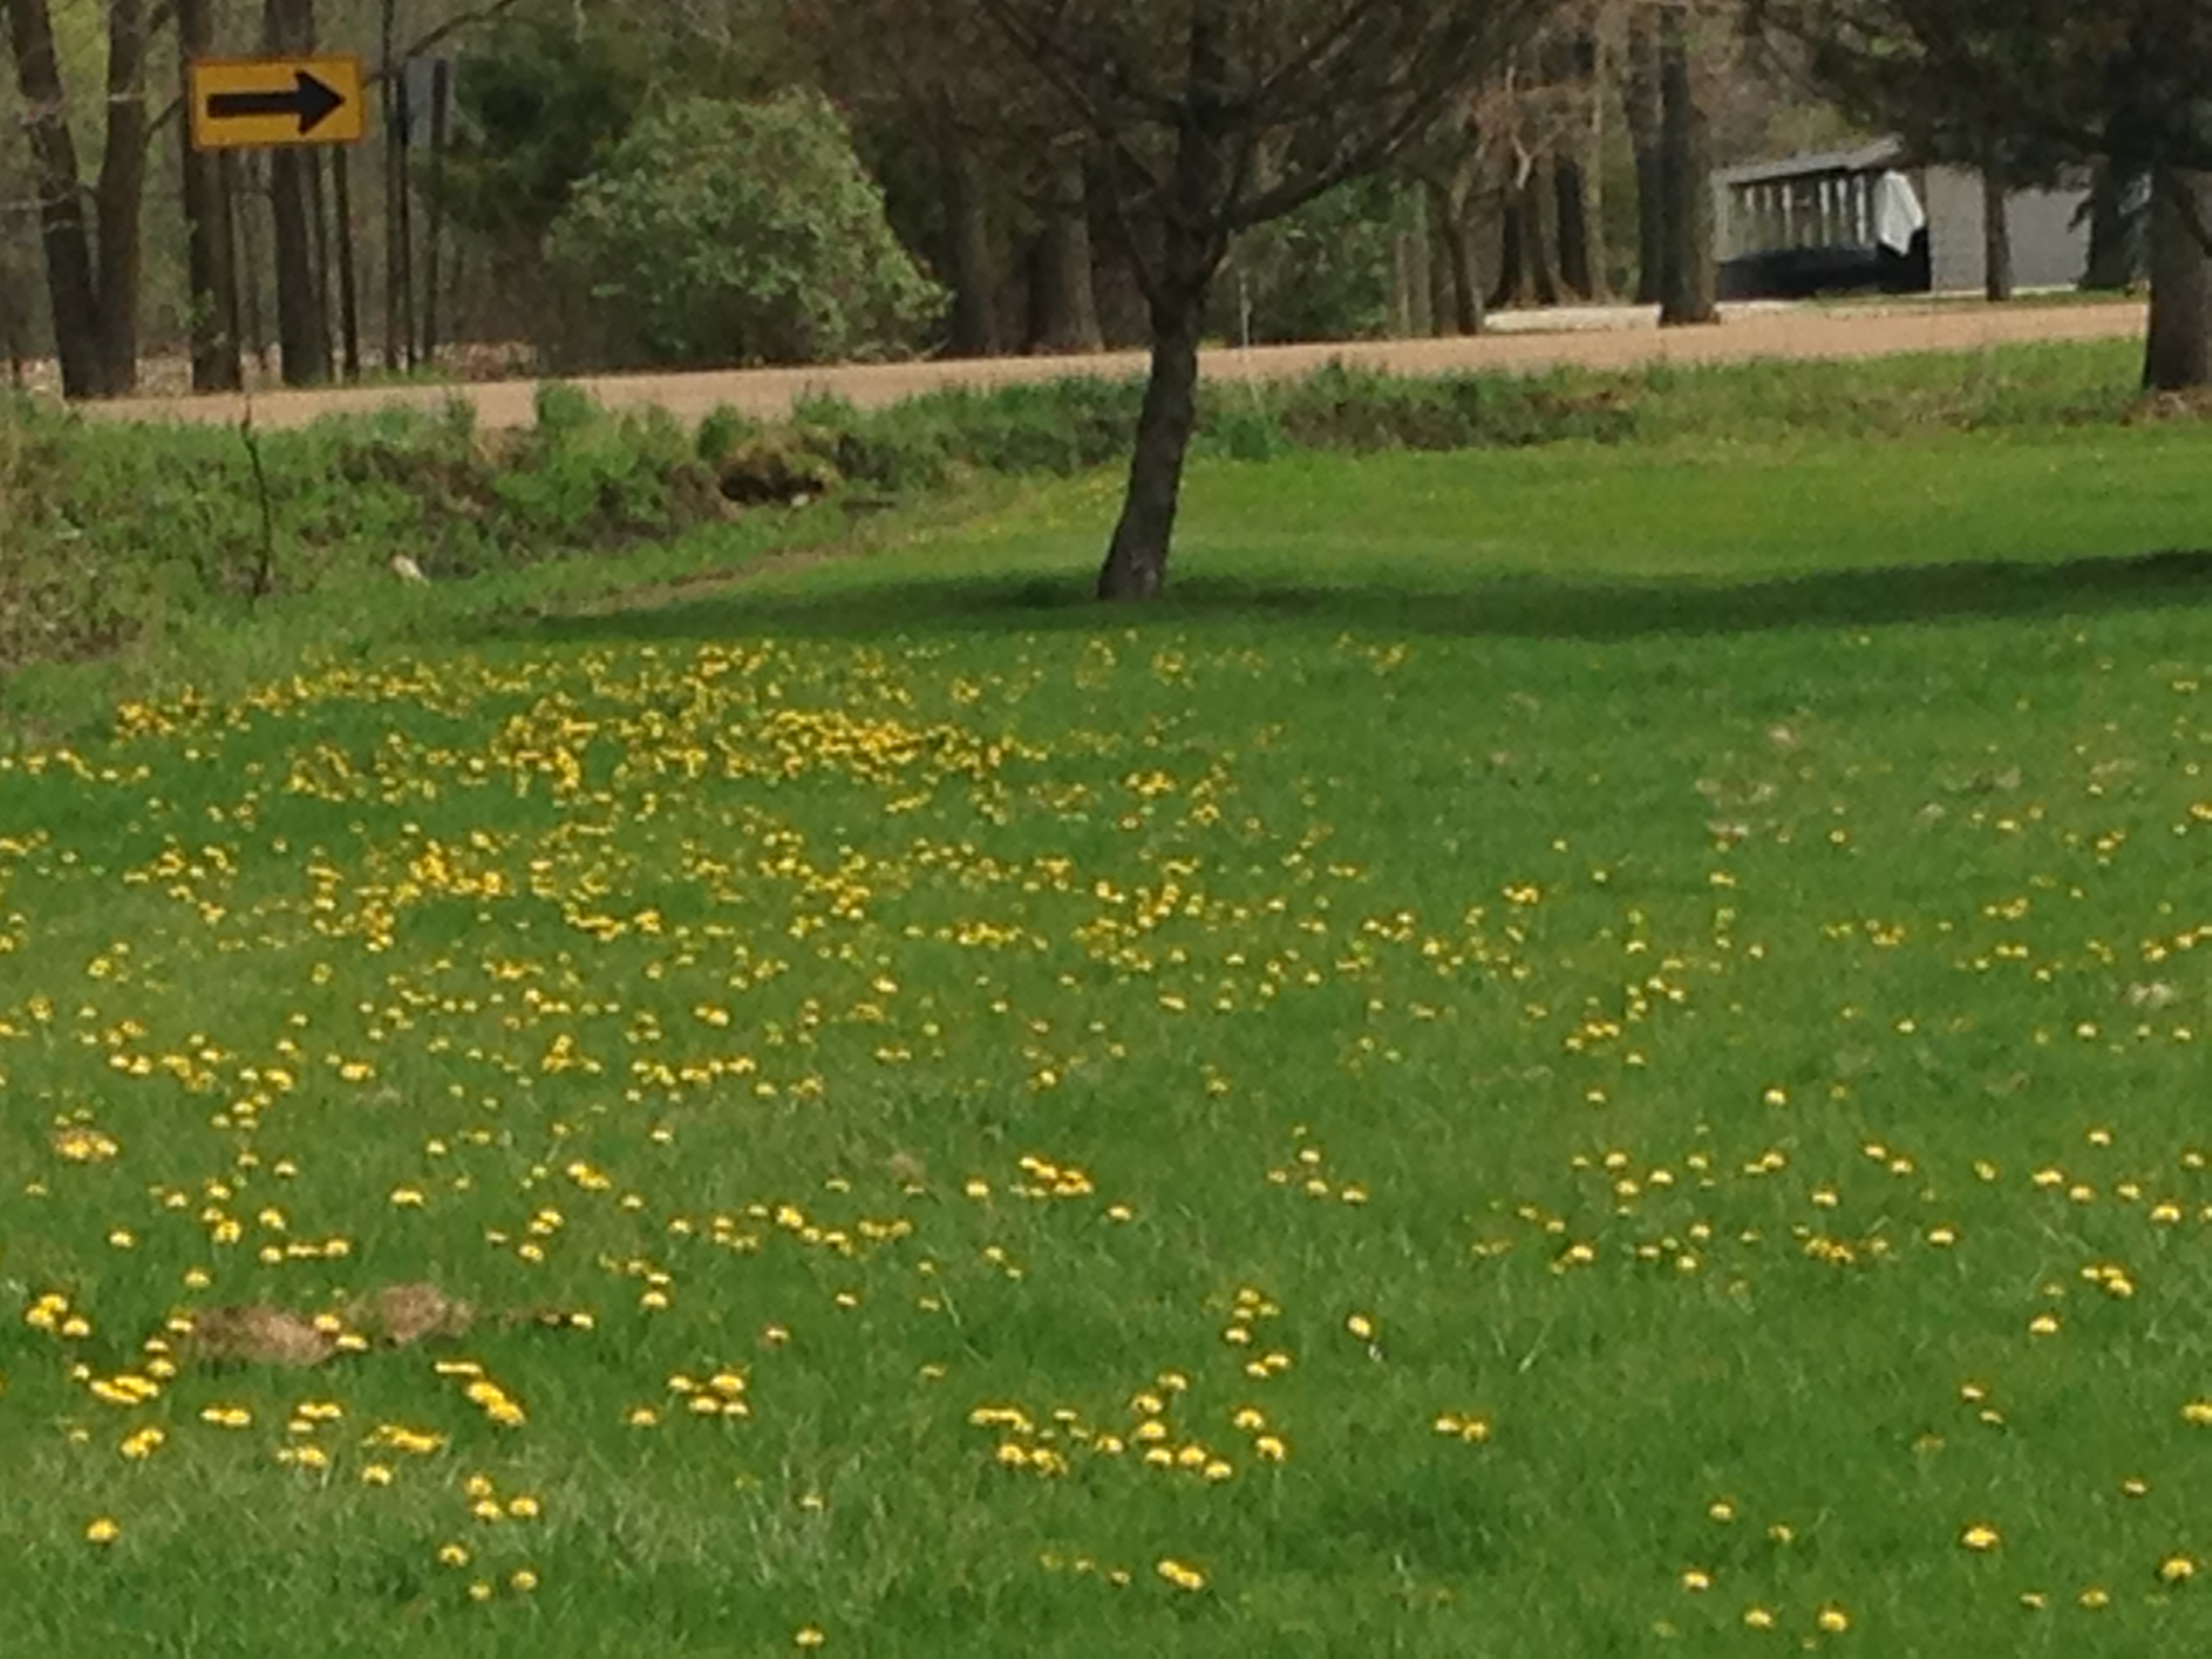
Where I grew up, no one over the age of 10 looked kindly on that ubiquitous yellow weed, the dandelion. In the suburbs especially, where lawns are meant to be green and clean, a dandelion is considered the worst kind of weed. They’re hard to kill, and they spread like crazy. (Who can resist blowing those wispy seeds to the wind while making a wish?) But I submit that dandelions have gotten a bad rap. First of all, beauty. Is there anything prettier than a field of bright green spotted with hundreds of small yellow sunbursts? Please. I might start crying right here.
Second, utility. There is so much you can do with dandelions! You can make jelly, coffee, salad greens, and wine. Wine, people! That awesome stuff in the fancy bottle you pay big dollars for. You can make it yourself using FREE dandelions from your yard, and wow your dinner guests with your style and sophistication.
How To Make Dandelion Wine, the Jessica Way
Step 1. Pick some dandelion heads. How many? As many as the recipe calls for; the recipe I used said 24 cups of dandelion heads. Rather than waiting until peak dandelion season when there are a bazillion easy-to-reach flowers right outside your front door, I find it’s best to do this when they first appear in early May, so you will have to spend twice as long and cover twice as much ground to get the amount of flowers you need. You may even have to knock on doors and ask your neighbors if you can pick their dandelions, in response to which you will receive a hearty chuckle and a pat on the head. Also, be sure to choose a hot day so you will work up a sweat bending over and standing up a hundred and fifty times while picking flowers.
Step 2. Realize you don’t have the energy to collect 24 cups of flowers, and decide that you will cut the recipe in half, to 12 cups. And then when you get to 10 cups, say “Close enough!” and call it done.
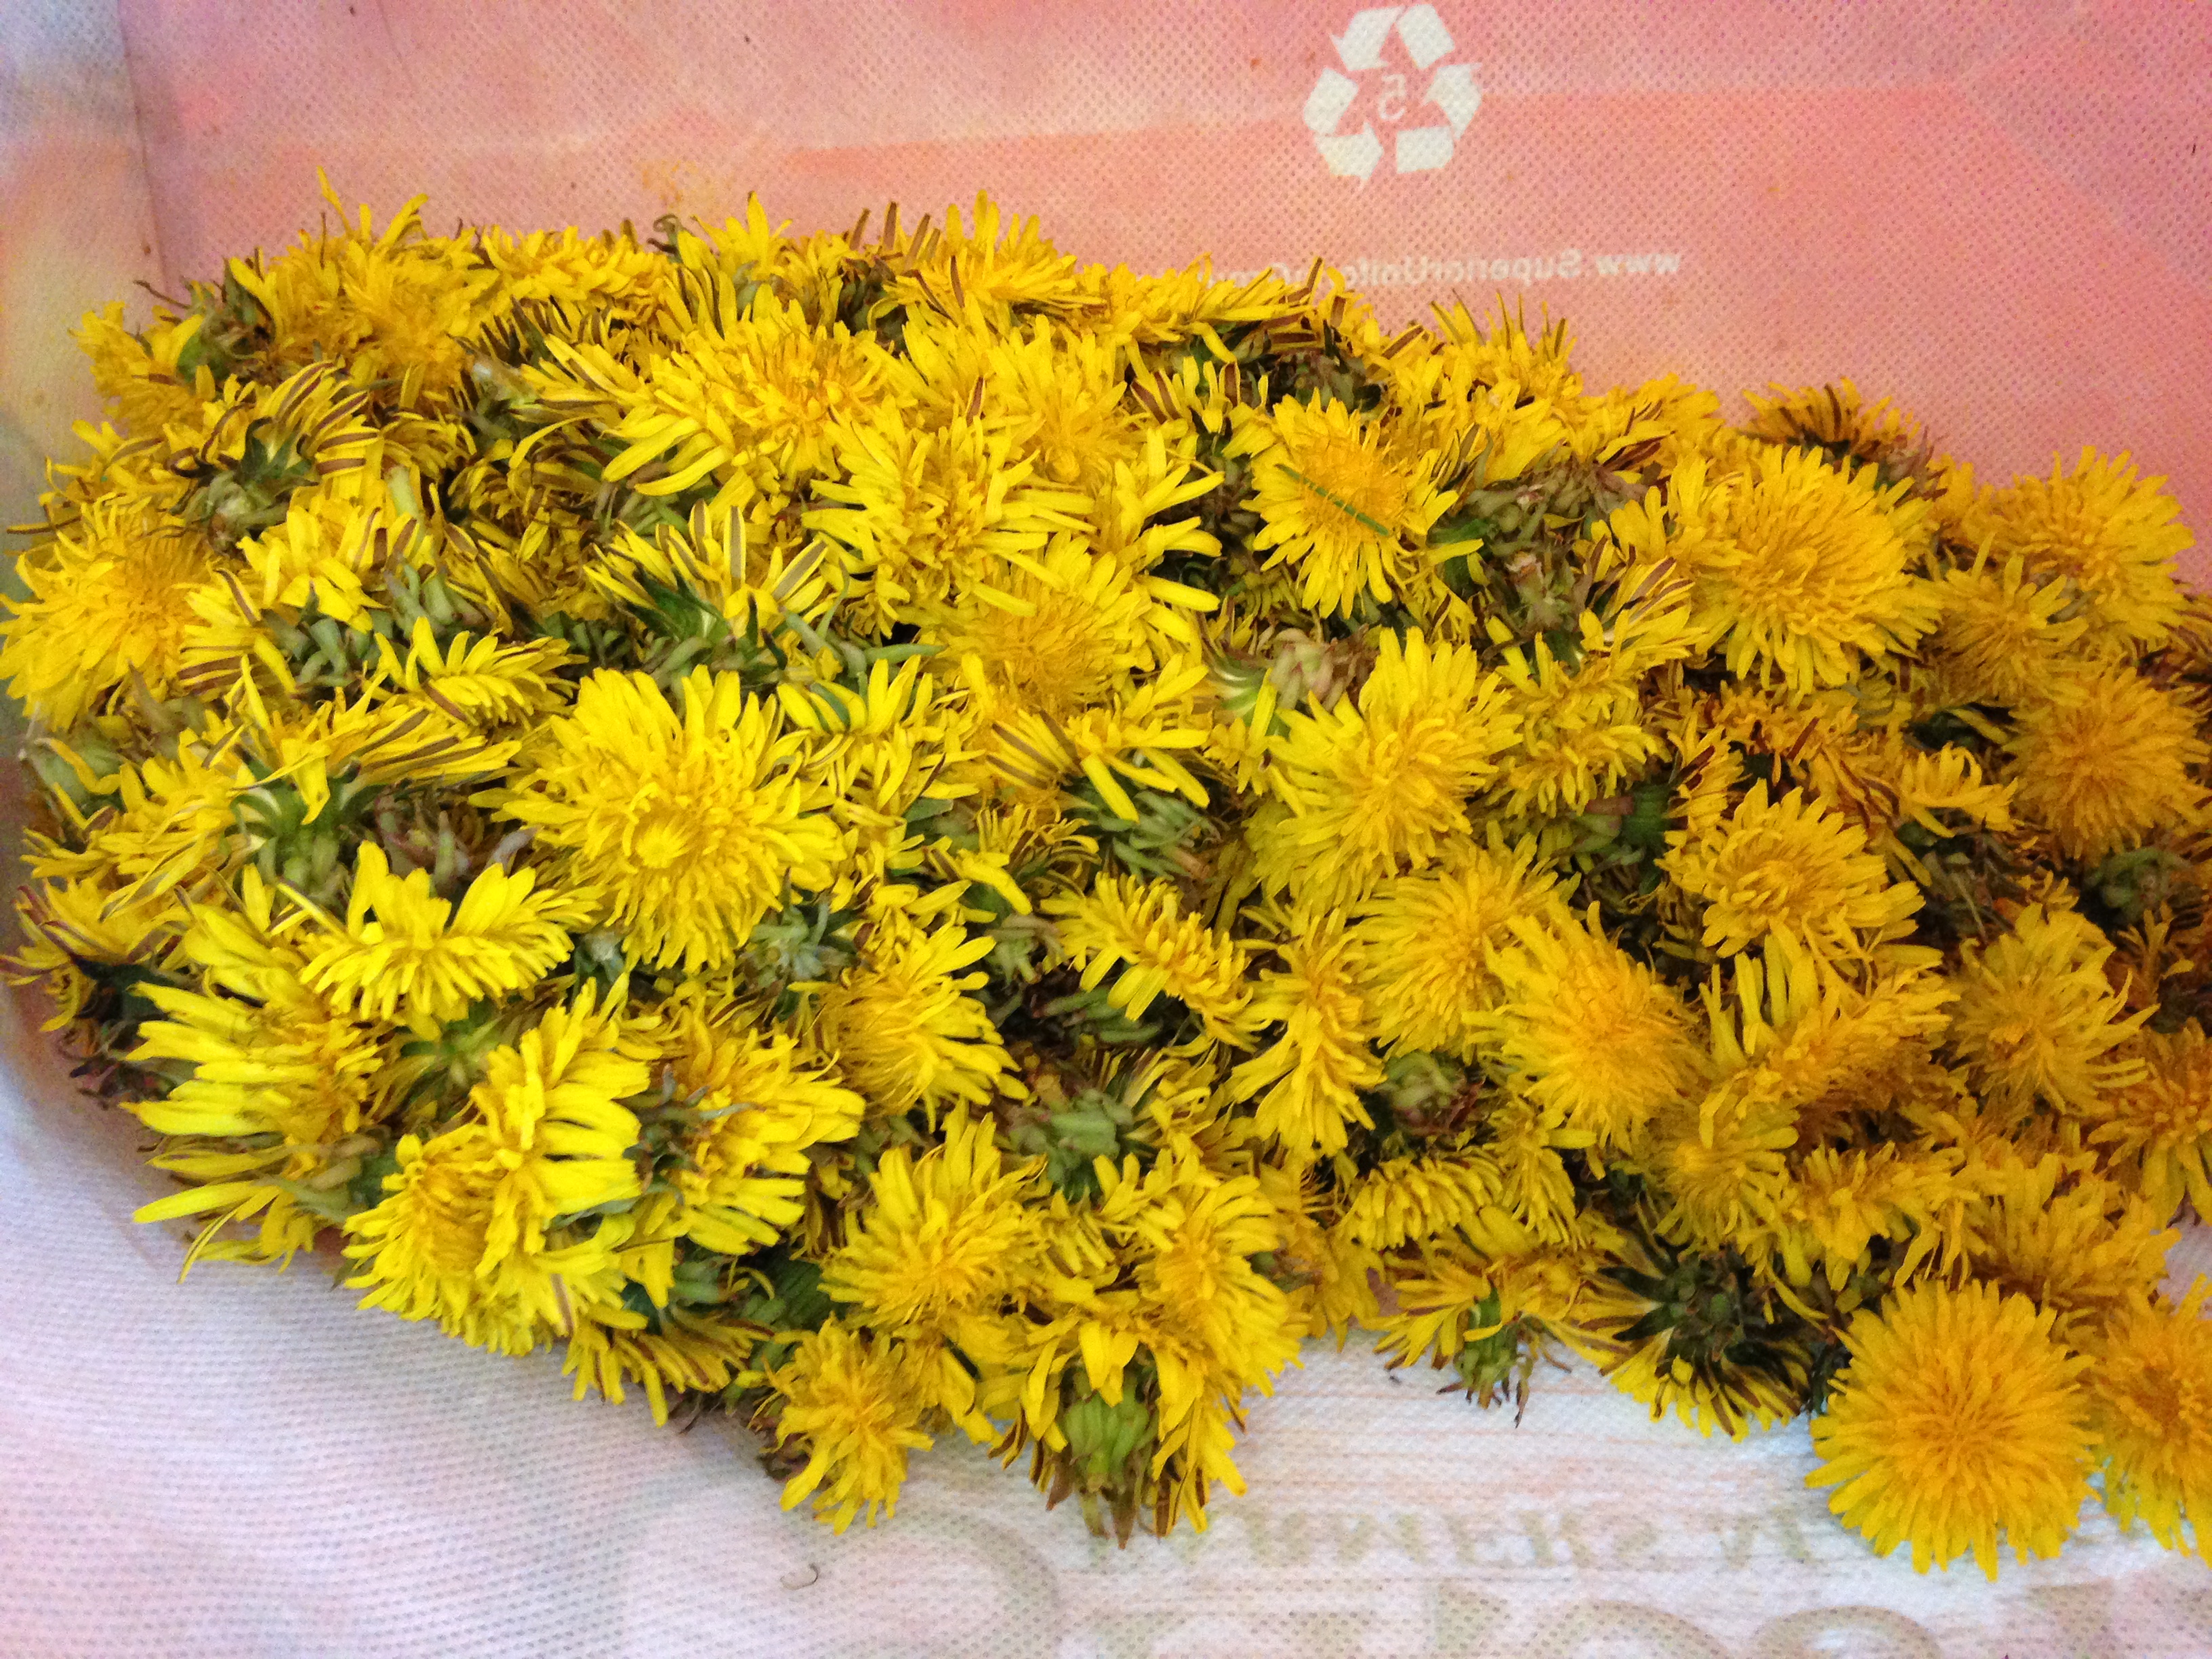
Step 3. Rinse the dandelion heads in water. Notice that the little bugs and pieces of grass are not rinsing out. Shrug and move on to the next step.
Step 4. Boil some water. Throw in the buggy dandelion heads. Turn off the burner and let the whole thing steep for a while. When cool, pour it all into another container. Be sure to select a recipe that calls for a lot of pouring the liquid back and forth between many containers. This way, you can reduce that pesky thing called ‘free time’ by having extra dishes to wash.
Step 5. Observe that at this point, what you have is dandelion tea. Pour a cup and drink some, for fun. Squinch your face tightly, run to the sink, and spit. Never do that again.
Step 6. Cover the tea with plastic wrap and let it sit for a few days. Wonder aloud if this is hygienic. Shrug and go do something else.
Step 7. After a few days have passed, transfer the dandelion tea to a big pot and bring to a boil. Add whatever fruity ingredients your recipe calls for. Mine said oranges, lemons, and cinnamon. Add the oranges, realize you don’t have any lemons, and forget to add the cinnamon. Forget that you cut the recipe in half, and add the full amount of sugar. This will come in handy during the fermentation step later, when you realize you have fed the yeast twice as much sugar as they need and now you have a ferociously bubbling mess. But don’t think about that during this step. Just keep pouring that sugar.
Step 8. After you’ve boiled the heck out of this mixture, pour it into yet another container. Actually, make it two containers just so we can use up more dishes. Pour a couple yeast packets into each bowl, and cover with plastic wrap. Let bowls sit, hogging up all your counter space for the next three days.

Step 9. Every once in a while, peek at the fermenting bowls of schpoo and wonder if you should just throw the whole mess in the garbage. At this stage, the mixture will be dark brown, it will smell like freshly baked bread, and it will be bubbling. There will be soggy orange chunks covered with fluffy brown yeast foam, nestled amongst hundreds of dead dandelion heads that now look like drowned mice. Wonder aloud, every 15 minutes, if this is even how wine is really made.
Step 10. Have lots of company and dinner guests over during this time so they can see what a weirdo you are. Be prepared to explain your nasty fermentation experiment in words that might encourage them to still want to try the wine once it’s done.
Step 11. Note that it’s been three days and it’s time to move the mixture into a fermentation vessel, which you have forgotten to purchase ahead of time. Cross your fingers and hope that the mixture will hold for two more days while you get on Amazon prime.
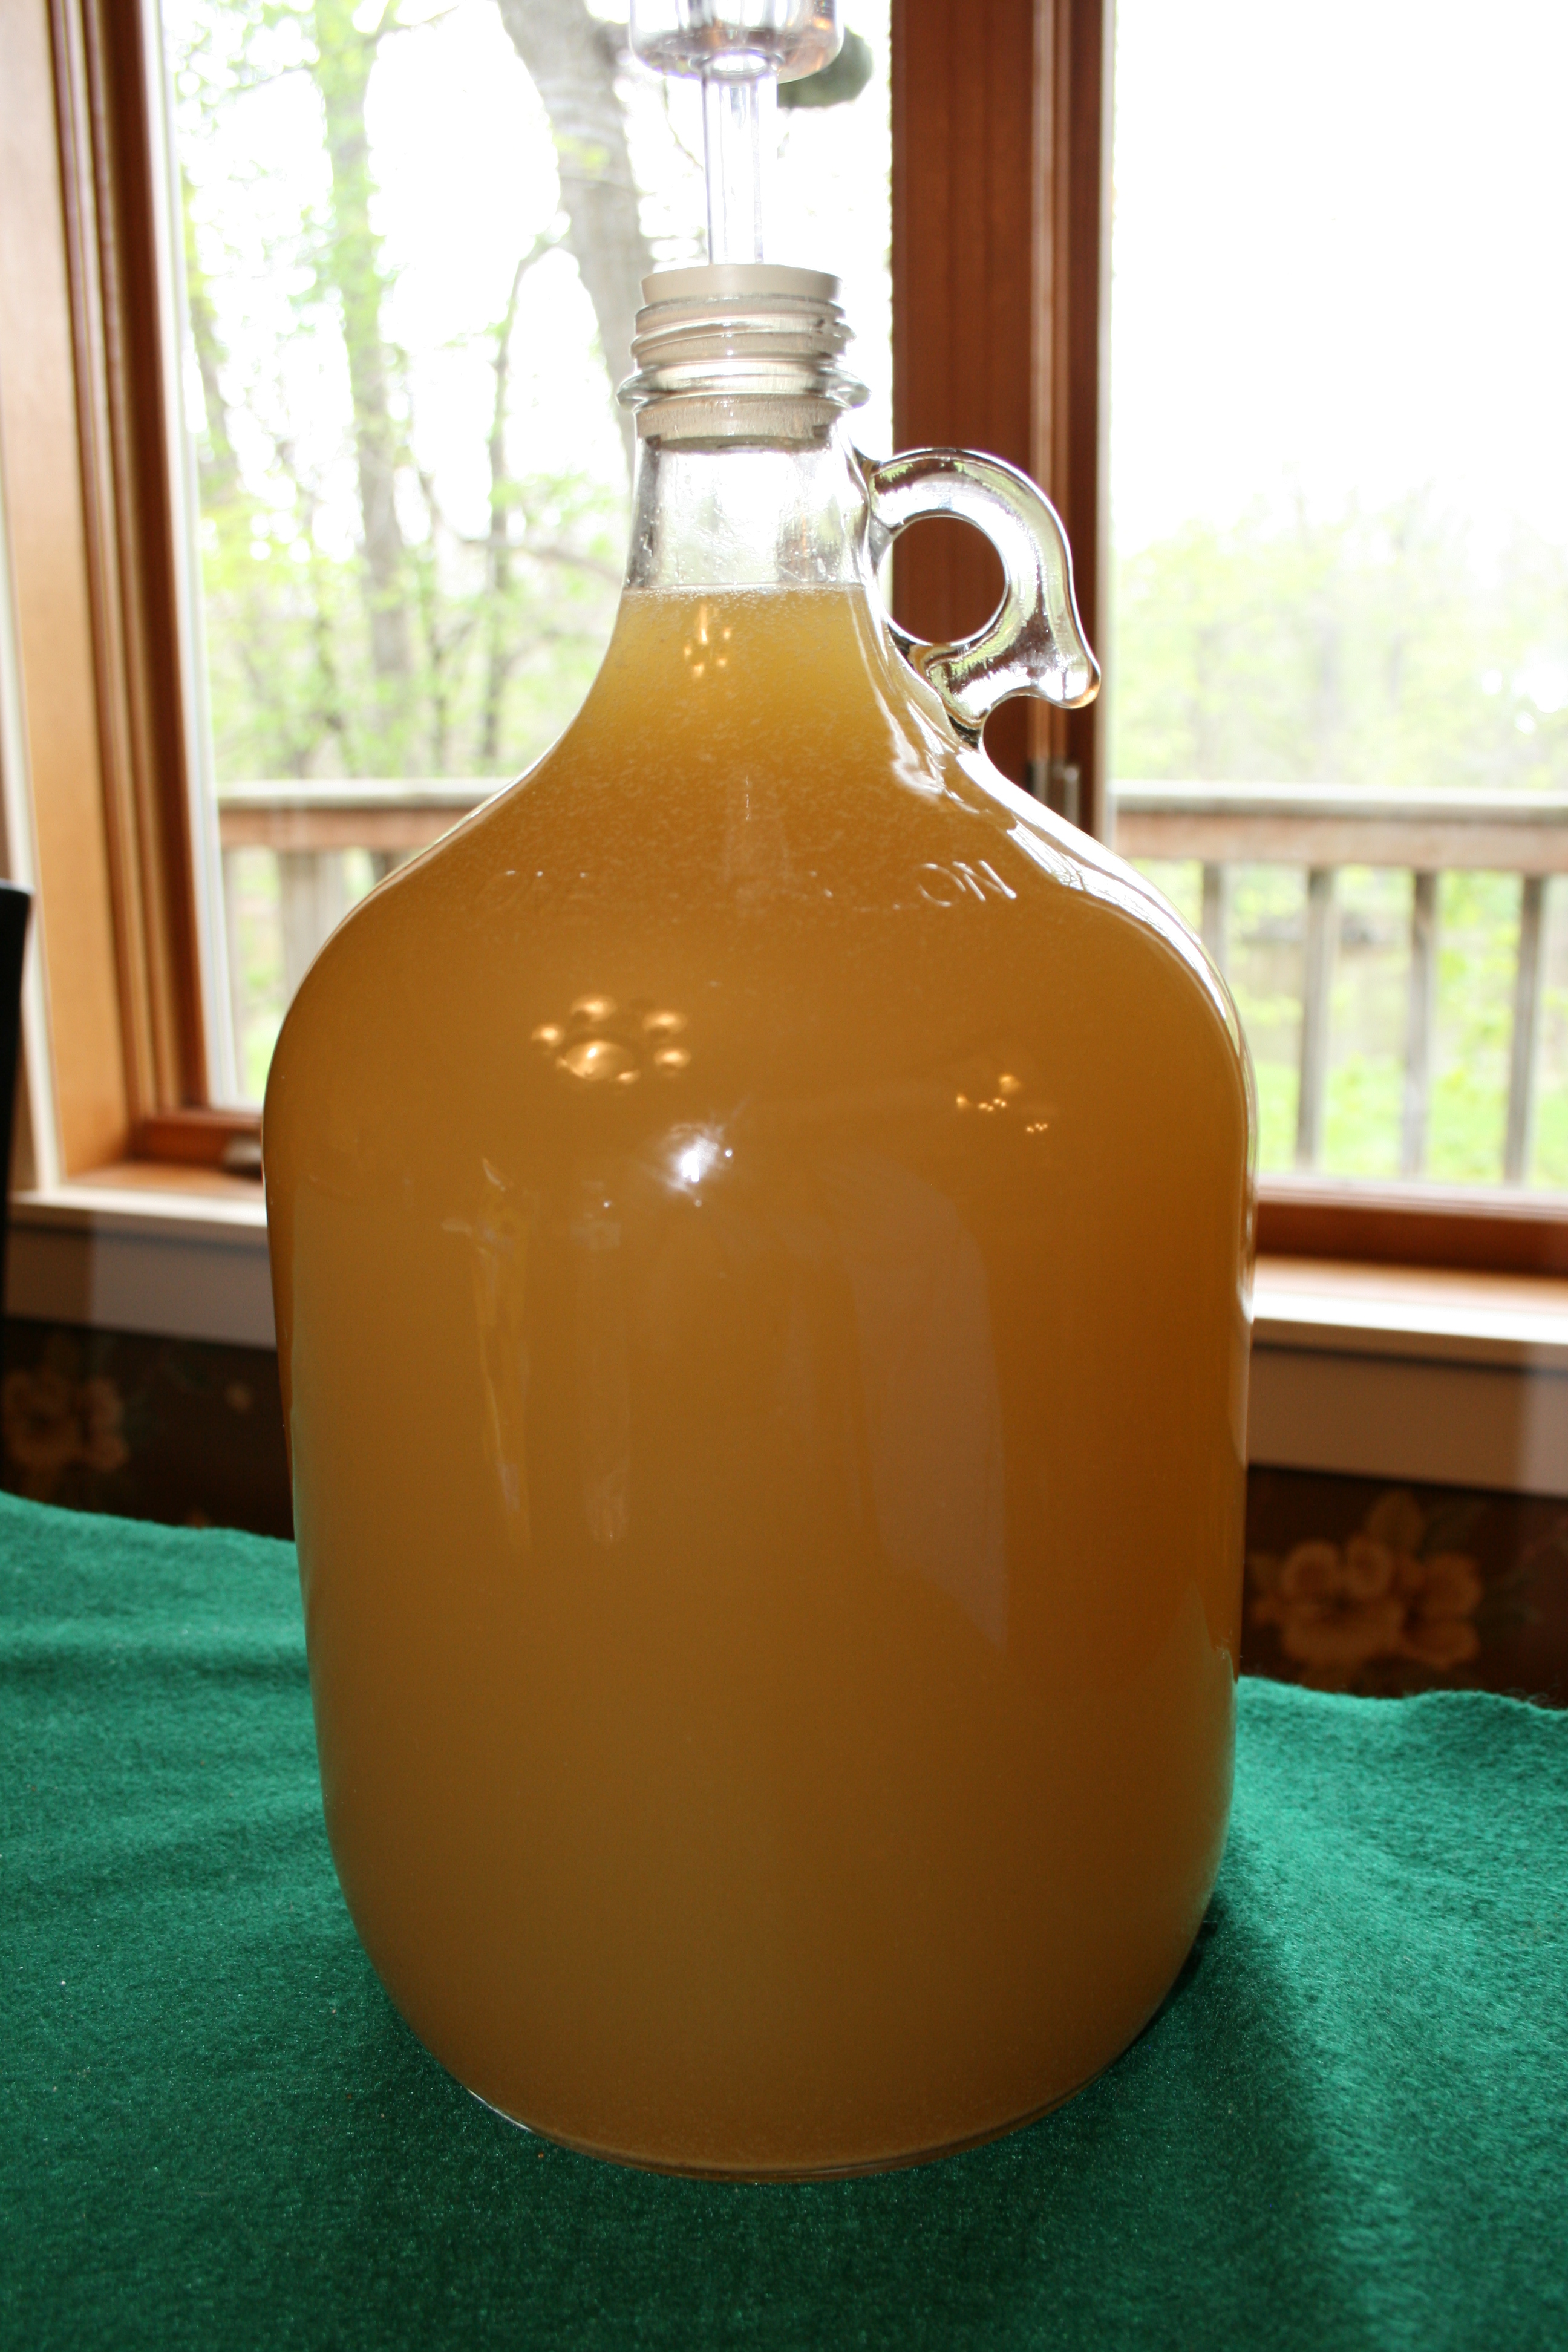
Step 12. Strain the gross, sickly sweet-smelling mixture to remove all the solids. Sigh with relief when it is now only liquid and looks remarkably like delicious apple cider. Reassure yourself that maybe this will turn into wine after all.
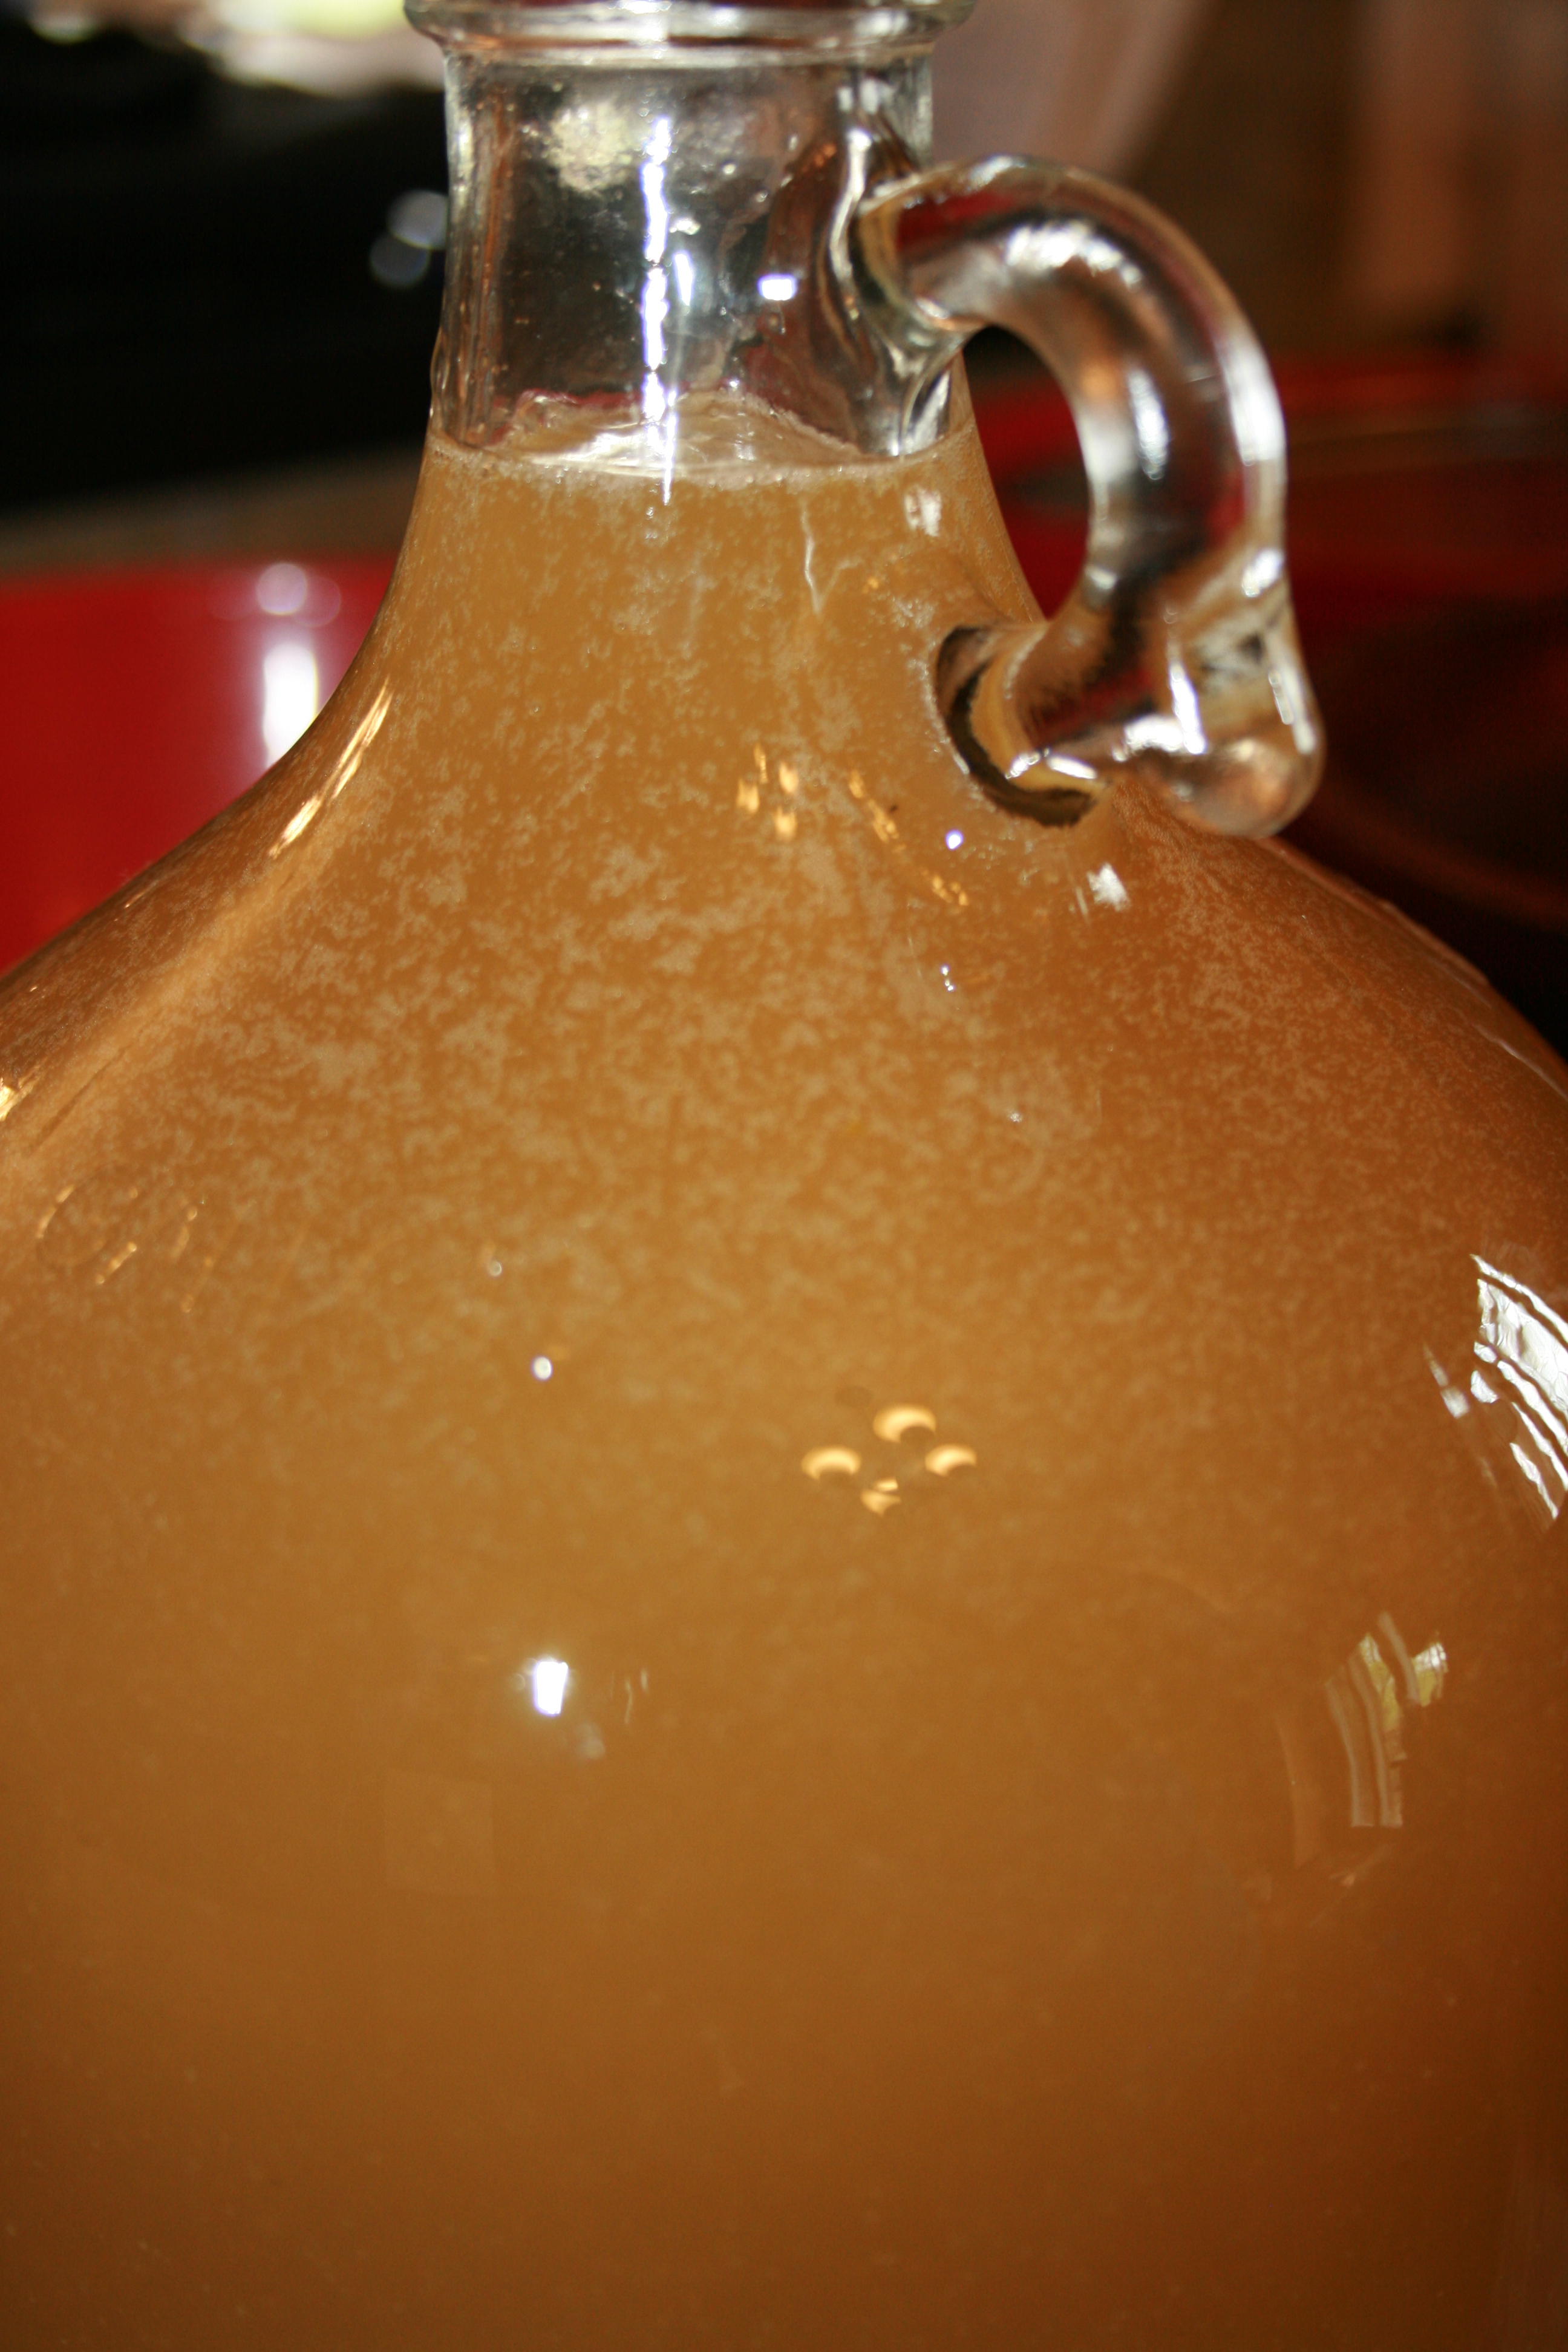
Step 13. Pour strained liquid into fermentation vessel. I used this one because it was a good size, comes with an airlock, was inexpensive, and would arrive at my house in two days. (See frantic online shopping in Step 11).
Step 14. As you are fiddling with the airlock wondering how it works, watch a youtube video on your phone about how to assemble an airlock. This one is good. Be sure to get sticky half-fermented wine all over your phone while you’re at it.
Step 15. Sit back and enjoy the show. The wine will sit in the fermentation vessel, bubbling away until it’s good and done. In my case, this may be the 12th of Never because I added a couple extra pounds of sugar in Step 7.
Step 16. When fermentation is complete, rack and bottle. Racking means getting the sediments out of the wine. Realize you don’t know how to do that; shrug and skip ahead. Bottling means pouring it into the final wine bottle in which it will age. Realize you don’t know what kind of bottle you need, empty out an old bottle of store-bought wine you never drank, and put your homemade wine in that. Push the cork in, and wonder aloud if this is anything close to the real way you’re supposed to bottle wine. Shrug and decide you’re okay with learning the hard way.
Step 17. Wait one year, then enjoy the fruits of your labor.
WHAT?! Wait one year? Yes, you heard me correctly. Wine has to age before it is good to drink. But then you knew that before you got started…didn’t you?

I love your stories! I can totally hear you talking as I read them!
LikeLike
This sounds like how ALL of my experiments go!
LikeLiked by 1 person